How-To Light for a Video Interview
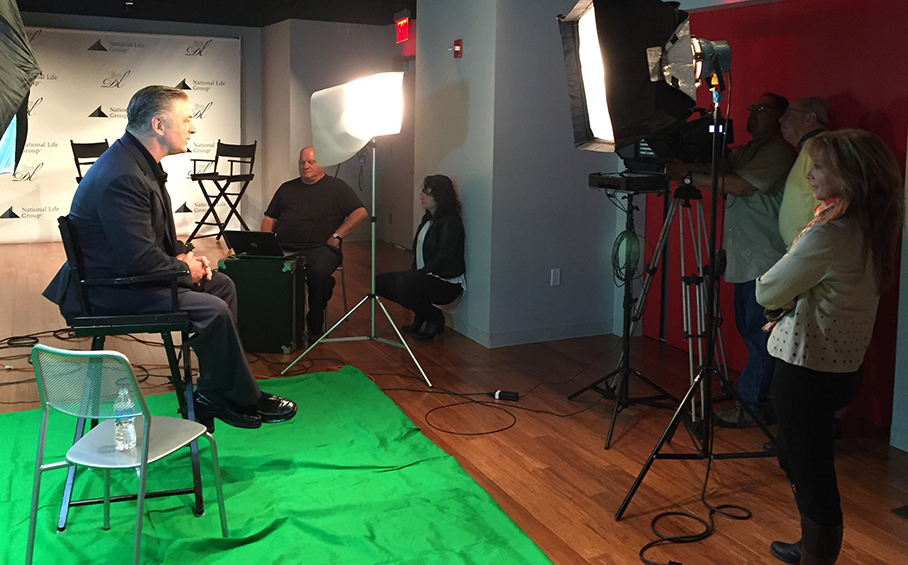
Have you ever watched a video and wondered why some hold your interest and others don’t ? Some reasons may be poor storyline, varying color temperatures from your light sources, poor audio quality or bad video editing. All video productions have challenges you have to face, even basic interviews. Poor lighting and/or audio will result in an unprofessional product, thus negatively representing your brand and wasting time and money. For this reason the use of professional lighting and sound for video is essential. If you’d like to learn more here are some important tips to help you.
Basic lighting setup for interviews:
The 3-lights essential for interviews are the Key-Light, the Fill-Light, and the Backlight.
1. Key-Light: This is the primary and most essential source of light. It’s the brightest light source and usually positioned next to or close to the camera. It’s often pointed down at the subject at approximately a 45-degree angle and should be diffused for an even skin tone.
2. Fill-Light: This is the secondary light source. This light is used to even out the shadows and is usually positioned close to camera on the opposite side of the key-light. It should be diffused or dimmed to create a nice modeling effect on your subject.
3. Backlight: This light is positioned behind the subject to highlight the hair and shoulder line. It helps to separate the subject from the background and add interest to your shot.
Color Temperature
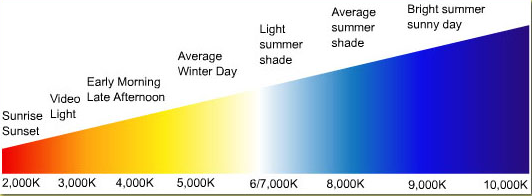
If you are filming interviews all your lighting should be the same color temperature to get the best results. Be aware that using random light sources can easily have a poor result. Color temperature is measured in Kelvin (K), and there are three common ranges: Warm Light (2700K-3000K); Cool White (3000K-5000K), and Daylight (5000K-6500K).
For Example: If your filming outdoors or the indoor location has a lot of windows, all your lighting should be the same color temperature as daylight.
The same is true if you’re filming indoors with incandescent light such as lamps and overhead fixtures. The most popular incandescent light is called Tungsten. This lighting is warmer in color temperature, therefore your lighting should match.
If your shot has a mix of color temperature such as daylight from windows combined with tungsten or florescent lighting, the skin tones can look unnatural and the overall appearance of your subject will suffer.
The lighting we use allows us to adjust for various color temperatures quickly and easily. When filming indoors, we often turn the overhead lights off altogether so we have full control of the lighting to create the mood we’re looking for.
Just as important as the look of your video is the sound. We’ve noticed some companies produce videos with poor sound quality. Good sound quality is an essential part of any successful video.
We recommend 2-tracks of audio, for example a boom and a lavaliere. Recording separate tracks of audio will help minimize unwanted background noise. This will come in handy when editing your video. Mixing both tracks together will add a nice warmth to the sound of your audio.


